12. User settings
Go to the menu Settings –> User settings to change your user settings.
The user settings include the following:
- Timetable
- Timetable headings
- Colours
- Fonts
- Tray
- Order overview
- Order columns
Timetable tab
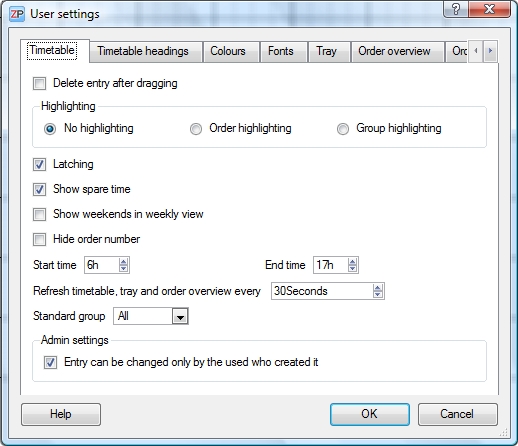
Delete entry after dragging
This function determines what happens after you drag an entry from the timetable into the tray or the order overview.
- If the box is ticked, then the timetable entry is shifted into the other window and does not remain in the timetable.
- If the box is not ticked, the timetable entry is copied into the other window. It will remain in the timetable as well.
Flagging
You can flag certain orders in the timetable by using different colours. The default setting is No flagging. If you select order flagging, then all entries of one order will be marked in the same colour. If you select group flagging, then the entries of one order will only be marked in the same colour if they had been copied by Ctrl+click (in contrast to a repeated drag&drop of the order from the order overview into the timetable).
Latching
The latching function allows the positioning of entries in the timetable within a 15-minute grid during the dragging.
Show spare time
You can determine whether the time not included in labour time (spare time) will be displayed. If you select Show spare time, then the spare time will be displayed in the respective colour.
Show week-ends in weekly overview
If this box is ticked, then Saturdays and Sundays will be displayed in the weekly overview as well.
Hide order number
If this box is ticked, the order numbers of the entries in the timetable will be hidden.
Starting time/End time
You can choose which time section of the day will be displayed in the timetable.
Refresh timetable, tray and order overview every…
ZePlanner is a network-oriented software, which is why the data at the individual workstations are refreshed in regular intervals. After the time selected here passes, the timetable, the tray and the order overview will be refreshed. The default value is 30 seconds. You can adapt this time to your own requirements.
Standard group
You can specify a standard group, which will be the one displayed automatically whenever the timetable opens.
Administrator configurations
As the administrator, you can select whether an entry may only be changed by the user who created it.
Timetable headings tab
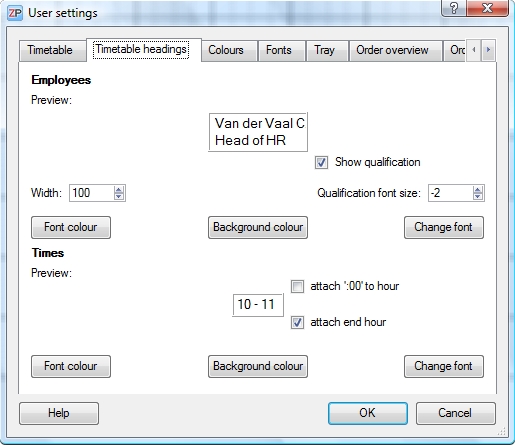
Employee / Show qualification
This function displays the name of the employee and the corresponding qualification.
Employee / Qualification font size
If you decide to display the qualification, then you can adjust its representation more minutely. You can select a smaller font size than the one used for the employee names. For instance, -1 means that the qualification will be 1 pt smaller in size than the name.
Employee / Width
The width is given in pixels and directly affects the employee sections in the timetable. Select a width small enough so that no timetable space will be wasted unnecessarily and large enough so that the employee names can be displayed well.
Employee / Font colour
Select the font colour for the labelling of the employees in the timetable.
Employee / Background colour
Select the background colour for the labelling of the employees in the timetable.
Employee / Change font
You can change the font and the size for the labelling of the employees in the timetable here.

Select the font and its size. Confirm with OK.
Times / Add ’00’ to time display
If this box is ticked, the time in the timetable will be displayed as 10:00 instead of 10, for instance. The effects can be observed in the pre-view line on the left.
Times / Add end time
If this box is ticked, then the time labels in the timetable will include the end time, e.g. 10-11 or 10:00- 11:00. The effects can be observed in the pre-view line on the left.
Times / Font colour
You can choose the label colour of the timeline in the timetable.
Times / Background colour
You can choose the background colour of the timeline in the timetable.
Times / Change font
Select the label font and size of the timeline in the timetable.
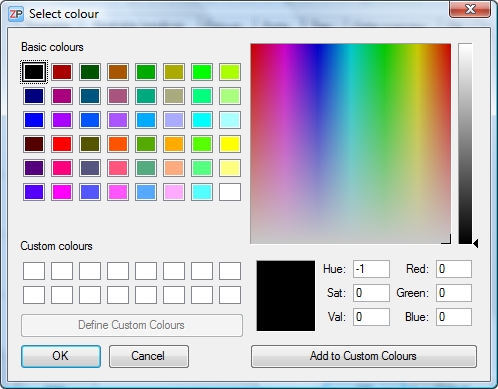
Select the preferred colour or create your own. Confirm with OK.
Colours tab
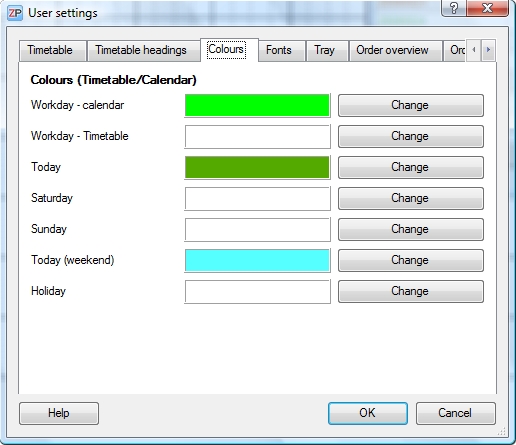
Colours / Workday – Calendar
Change the font colour of workdays in the calendar here.
Colours / Workday – Timetable
Change the background colour of workdays in the timetable here.
Colours / Today
Change the background colour of the current day in the calendar here.
Colours / Saturday
Change the background colour of Saturdays in the timetable and the font colour in the calendar here.
Colours / Sunday
Change the background colour of Sundays in the timetable and the font colour in the calendar here.
Colours / Today (weekend)
Change the background colour for the current day in the calendar, if that day is a Saturday or a Sunday, here.
Colours / Holidays
Change the background colour for holidays in the timetable and the font colour in the calendar here.
Fonts tab
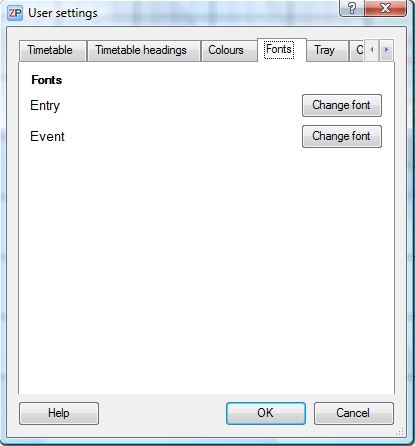
Fonts / Entry
Change the font and font size of an entry in the timetable here.
Fonts / Event
Change the font and font size of an event in the timetable here.
Tray tab
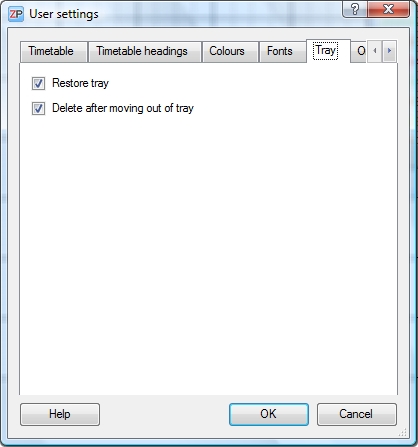
Restore tray
You can determine whether the tray will be restored or cleared after closing and re-opening of ZePlanner. If the box is not ticked, then the tray will be empty upon opening ZePlanner.
Default status: ticked
Delete entry after moving from tray
You can choose whether an entry will be deleted from the tray if you move it from the tray into the timetable. If it is not deleted, then a copy will be created in the timetable. This function is useful if you have to assign an entry multiple times.
Default status: ticked
Order overview tab
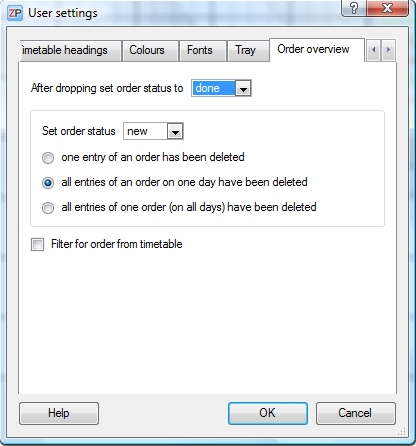
After dropping Set Order Status
This function allows you to determine which status an order will take after it is assigned: urgent, assigned, new, moved or one of your custom statuses. If you leave the box blank, then every new order will automatically possess the status new. You can find more information on custom statuses in the chapter on order statuses.
Set Order Status
You can determine which status will be assigned
- if an entry of this order is deleted
- if all entries of this order on the same day are deleted
- if all entries of this order on all days are deleted
Filter for Order
Tick this box if you want the order overview to display only the order belonging to the entry you select in the timetable. Default status is not ticked.
Order columns tab
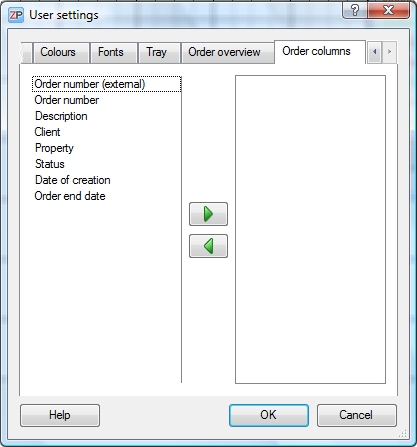
You can determine which columns will be displayed in the order overview here. Move the labels into the right column to add it to the displayed labels. Select a label and click on the arrows to move it.
 Test for free
 Buy ZePlanner
 Get in Touch