19. Events
The following entries constitute events:
- sick leave
- vacation
- compensatory time
You have been introduced to these events in the user settings, where you could assign colours to them. You can also create your own kinds of events, which is described further below.
Events differ a little from entries.
- Events cannot be moved.
- Events cannot be resized.
- Events are not connected to an order.
Events have a long-term character, which is why they are built up differently than entries. However, that poses no disadvantage as regards handling.
Create your own events
You can create your own events according to you personal preferences or regional requirements and assign colours to them. Go to the menu Settings –> Event types. The window Event type will appear. Right-click to open the context menu where you can choose whether you want to edit an existing event type or to create a new one. The window Edit event type will appear where you can set the name and colour of the new event type.
Enter an event
There are two ways of entering an event.
The quickest way is through the timetable. Right-click on the employee to whom you want to assign an event and select Assign event in the context menu. The window Edit events will appear where you can set the event data.
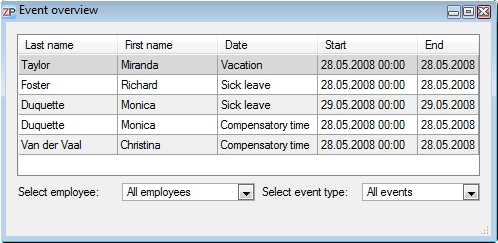
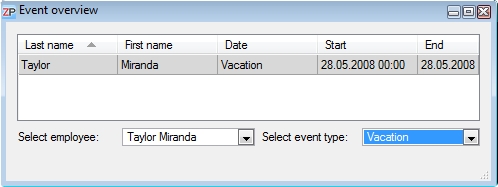
Alternatively, you can open the window Event overview in the menu Tools –> Event overview.
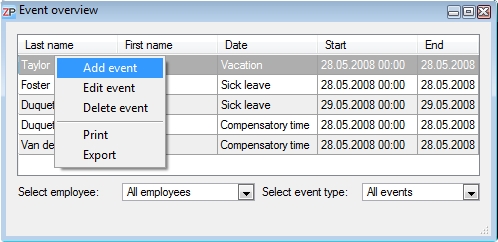
Right-click in the window Event overview and select Add event from the context menu.
The window Edit event will appear.
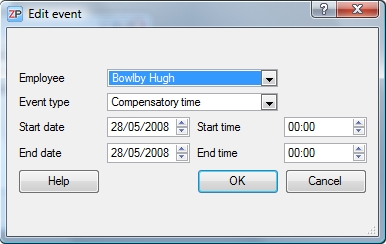
Select an employee and an event type. Choose the starting date and time as well as the end date and time. Confirm with OK. The entry is now created and appears in the list. After the actualization of the timetable, the event will be displayed there as well. You can also refresh the timetable manually by pressing F5.
Change event
You have several possibilities of changing an event.
- 1. Double-click on an event in the timetable. The window Edit events will appear. Enter your changes and confirm with OK.
- 2. Right-click on the entry in the window Event overview and select Edit event in the context menu. The window Edit events will appear. Enter your changes and confirm with OK.
- 3. Double-click on the entry in the window Event overview. The window Edit events will appear. Enter your changes and confirm with OK.
Delete event
There are two ways to delete an event.
- 1. Select the entry you want to delete in the Event overview window and right-click to open the context menu.
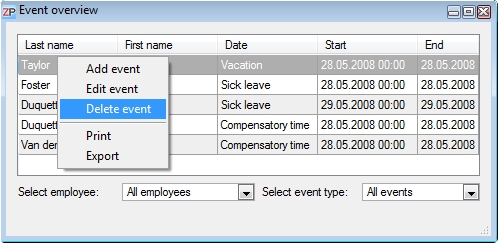
Select Delete event.
- 2. Select the entry you want to delete in the Event overview window and press the Del key to delete the event.
Display function in the Event overview window
The event overview can get very long over the course of time. Therefore, the sorting settings are essential for an efficient way of working.
You can sort the entries by the overview columns. Click on the respective column title to change the sorting order.

The filtering functions form another way of restricting the displayed entries. You can filter by employee or by event type. You can also combine these two filter settings if you wish.
 Test for free
 Buy ZePlanner
 Get in Touch