14. Order overview
The window Order overview is open by default. If this is not the case after opening ZePlanner staff scheduling, you can open it by going to Orders –> Order overview.
You can change the order of the columns in the order overview according to your preferences. Press and hold the Ctrl key and click on the column you want to move. Pull it to the desired position. You can also change the size of the columns by clicking on the dividing line between them and pulling on it.
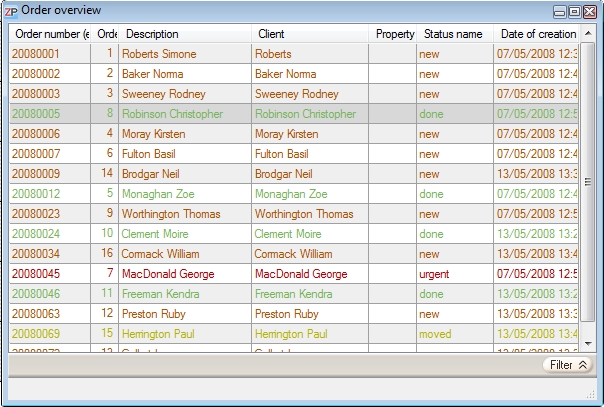
The order overview shows all the entered orders and can be filtered and sorted according to various criteria.
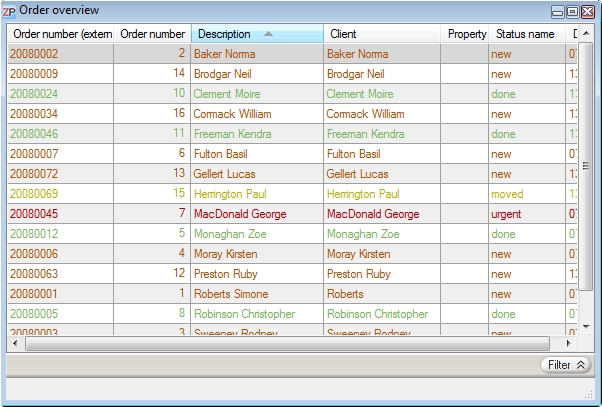
Sorting
You can sort the order overview according to any existing column. If you click on Description, for instance, then the orders will be sorted alphabetically and ascending according to this column. If you click on this box again, the sorting will be descending. You can do the same with all other columns.
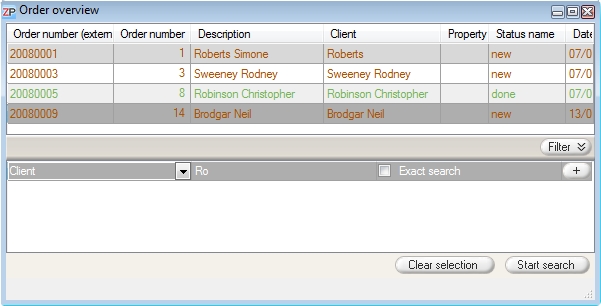
Filtering
Click on the button Filter in order to arrive at the filter function. It allows you to filter the entries in the order overview according to the desired criteria. These criteria include the number, external order number, client name, date and the order status. Select the required criterion from the drop-down menu on the left and type in the relevant letters or the date right next to it. If you select the status as your filtering criterion, then a drop-down menu will appear on the right side where you can choose the status type you want to filter by.
Press Enter or click on the button Start search to filter your orders.
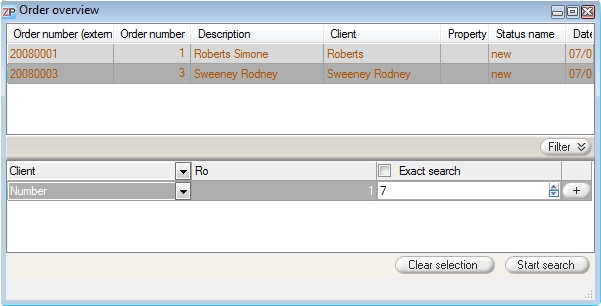
Filter boxes / Number
If you want to reduce the overview to certain order numbers only, enter the smaller number into the middle box and the larger order number into the box on the right.
Filter boxes / Date
If you want the overview to display a certain time period only, enter the starting date into the middle box and the end date into the box on the right.
Filter boxes / Order Status
You can filter the order overview according to the individual order statuses as well.
Exact search
If this box is ticked, then the order overview will be filtered according to the exact letters which you have entered into the box next to the left drop-down menu. By default, however, the filtering will include every occurrence of the entered letter sequence, as for instance in the screenshot above.
Advanced search / Combined filtering criteria
If you want to filter your order overview according to more than one criterion, click on the Plus-Button on the far right of the search row. Another row will appear where you can determine your next criterion.
Filter reset
Click on the button Clear selection to reset the entered search criteria to the default configuration. The values will be reset to the following:
- client name: blank
- exact search: not ticked
- date: first entry to last entry (i.e. all entries)
- order numbers: smallest to largest
- order statuses: all will be displayed
These configurations are the same when you open the window Order overview.
Add order
If you want to add an order, right-click on a random point in the order overview to open the context menu. Adding an order has the same effect as the entering of a new order.
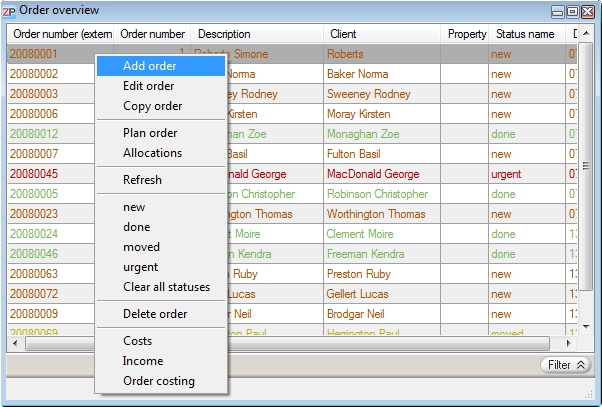
Copy order
If you copy an order, the window New order will appear and contain all the data from the original order. You can now change the data at will. This function is useful if you have to enter orders that are very similar to each other and contain only small changes.
Plan order
This function allows you to plan your order without the drag&drop function. If you click on Plan order, the window Plan long-term order will appear. You can determine the duration of the order and choose which days and time spans you will take into account.
Allocations
Click here to see the allocations belonging to the selected order. You can find more on allocations in this chapter.
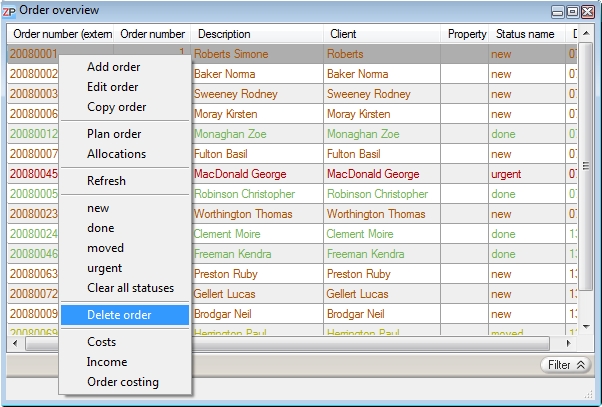
Delete order
To delete an order, right-click on it to open the context menu. Select Delete order.
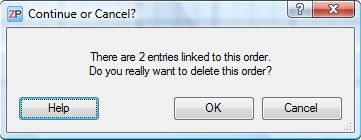
A warning notice will appear and show you how many entries belonging to this order will be deleted. Confirm with OK if you want to delete this order.
Attention: If you press OK now, the order will be deleted permanently.
If you do not want to delete the order, press Cancel.
Expenses
You can enter the expenses for the selected order here. This will be relevant for the Order costing.
Revenues
Enter the revenues for the selected order here. You can find more information in the chapter on Order costing.
Order costing
Calculate your expenses and revenues with the integrated order costing. You will find more information on order costing.
 Test for free
 Buy ZePlanner
 Get in Touch